Slides can be re-ordered within a course at any time. When adding a new slide, the slide is automatically as the last slide underneath whatever is chosen as the parent slide. Once you create a new slide, you’ll need to move the slide to the correct position in the content menu.
To re-order the slides in a course:
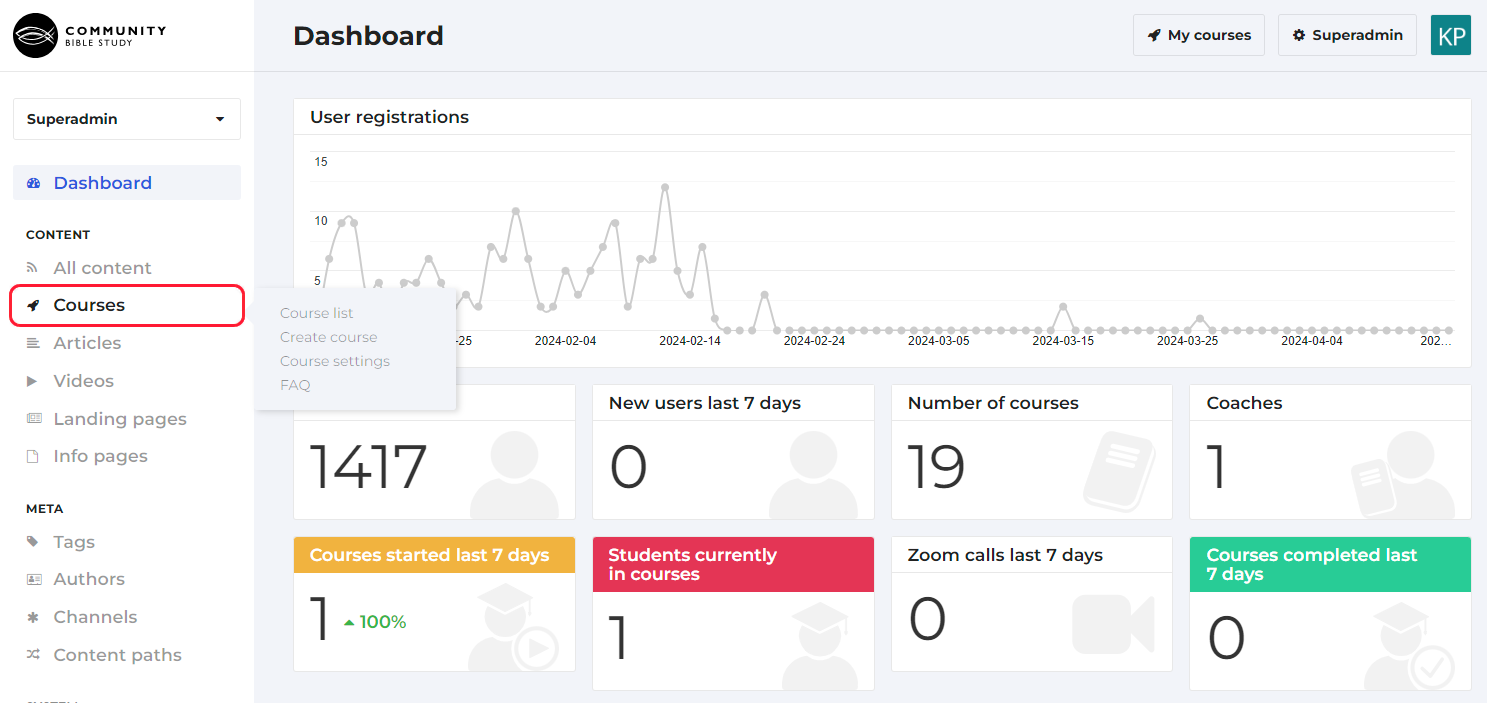
1. Login to your account and click Superadmin at the top of the page.

2. Click Courses in the menu on the left-hand side of the page.
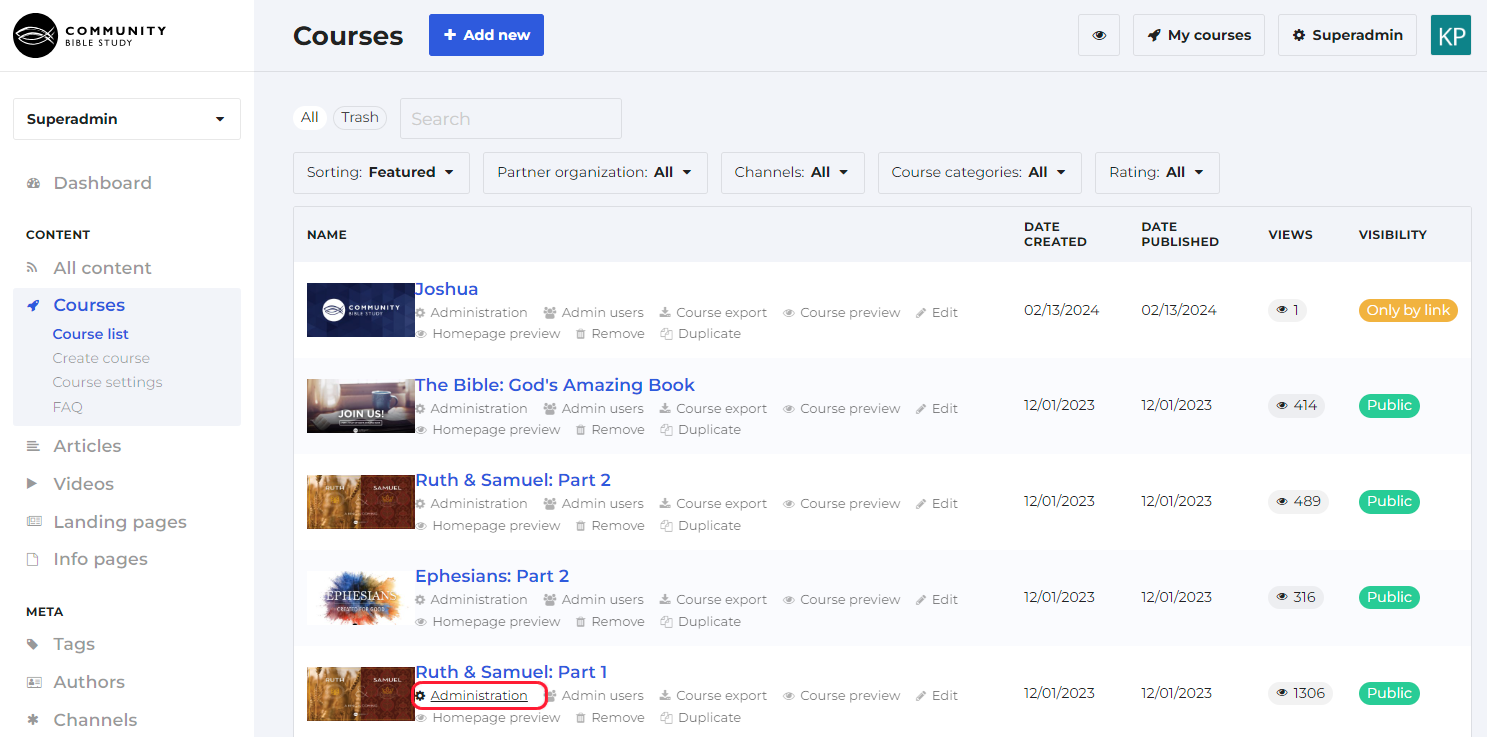
3. Click Administration underneath the course you are wanting to edit. This will take you to the course administration page.
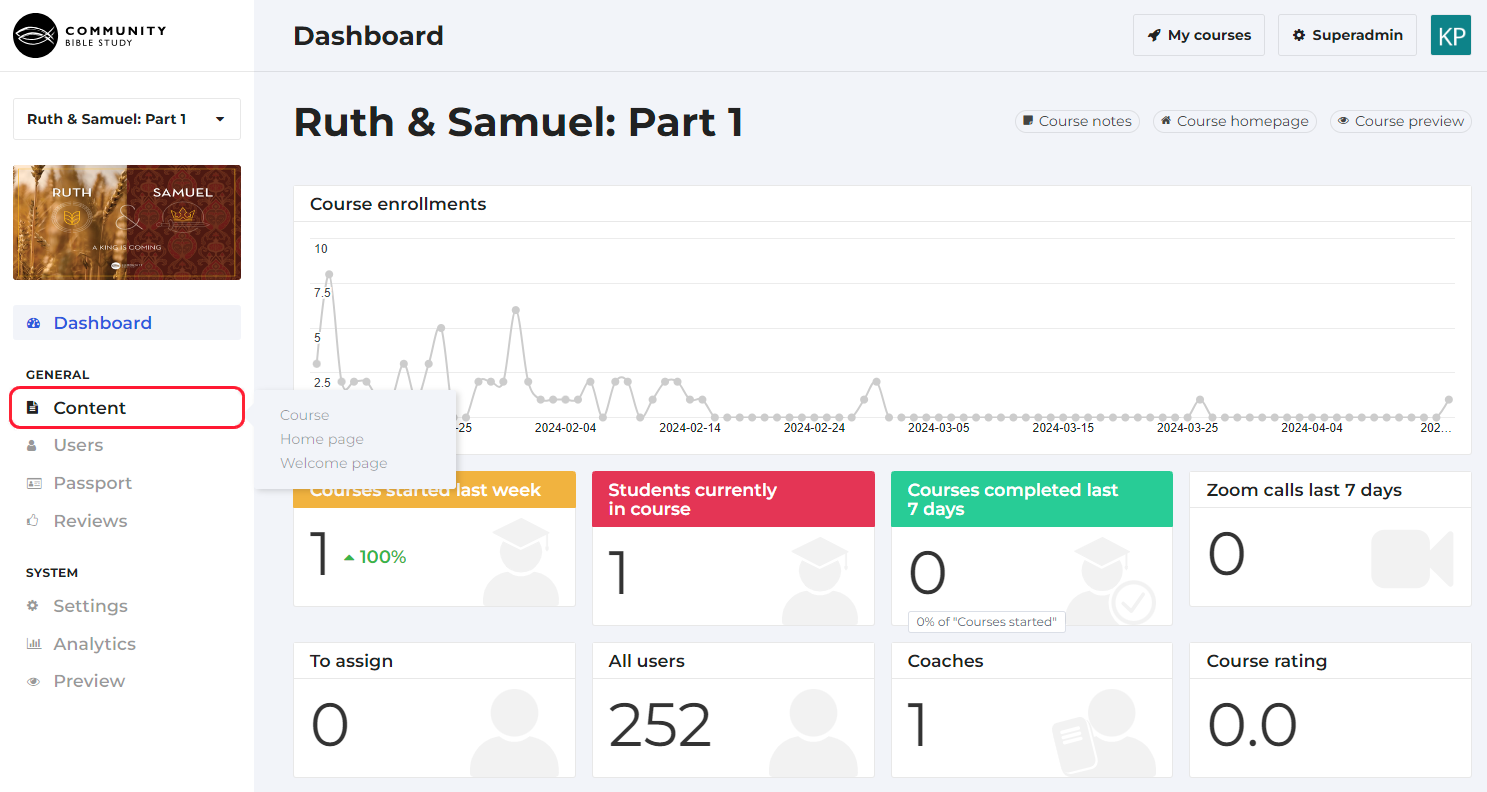
4. From the course administration page, click Content in the menu on the left-hand side of the page.
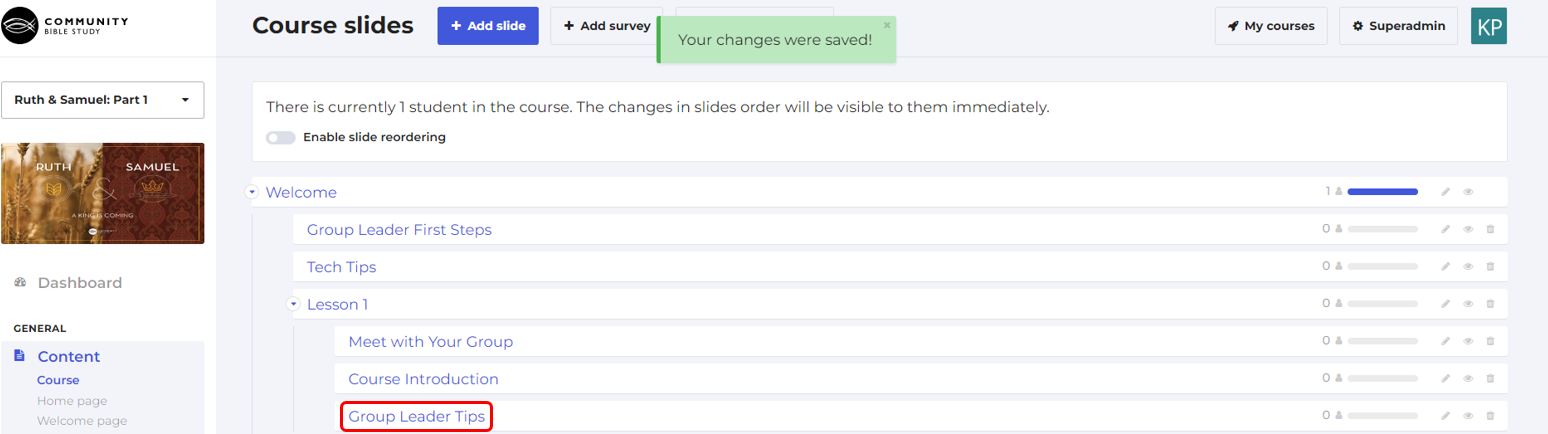
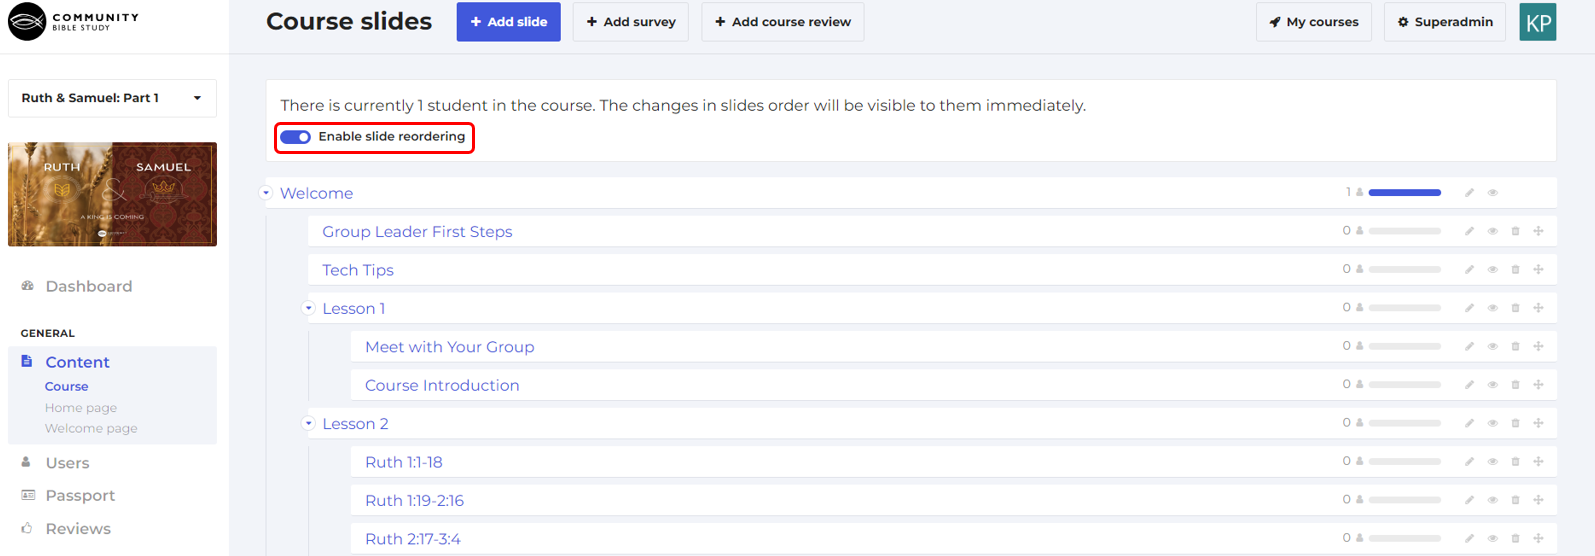
5. If the course has groups that are actively running, you’ll need to turn on slide re-ordering by clicking the button at the top of the page. If this option is turned off, the move icon next to each slide won’t be visible.
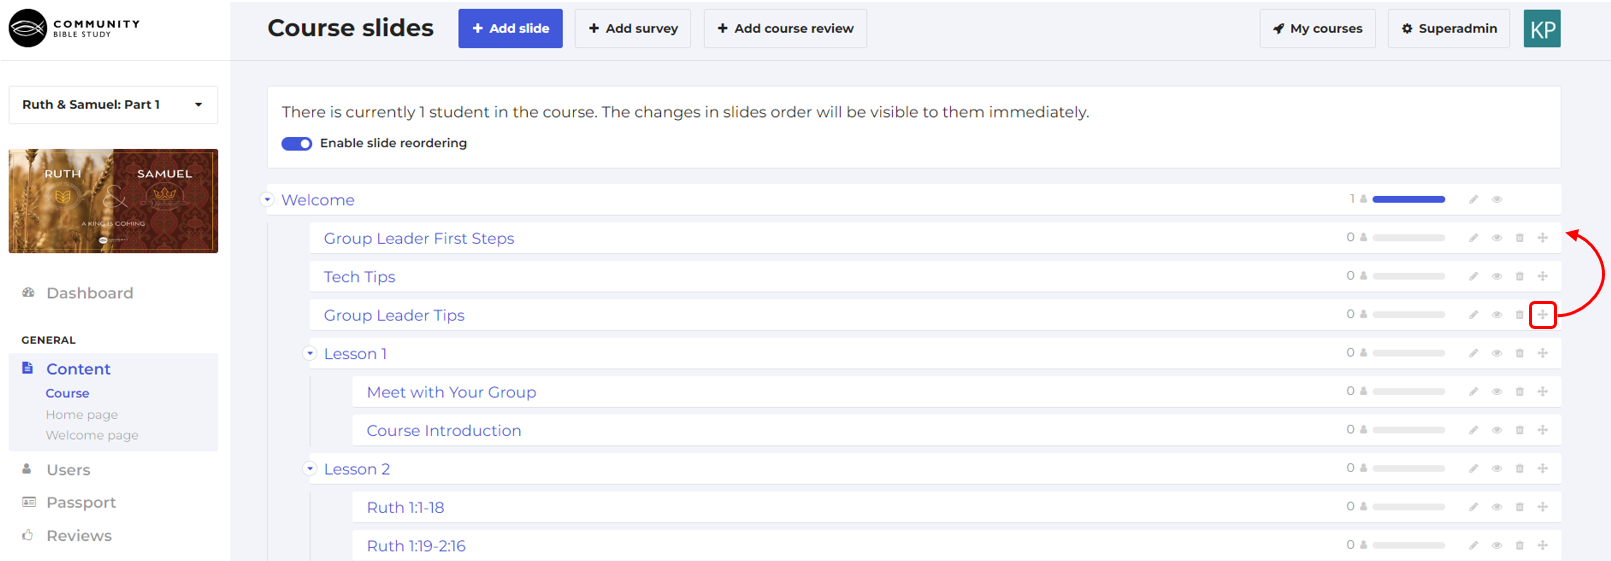
6. Click and hold the move icon next to the slide you want to move and drag the slide to the spot in the course you want it to go. You’ll want to pay attention to the slide’s positioning before you release the move icon to make sure that the slide is added underneath the correct parent slide. Once the slide has been moved you’ll see a message letting you know the slide has been moved successfully.
You can also re-position a slide by changing the parent slide for the slide you are wanting to move. To change the parent slide:
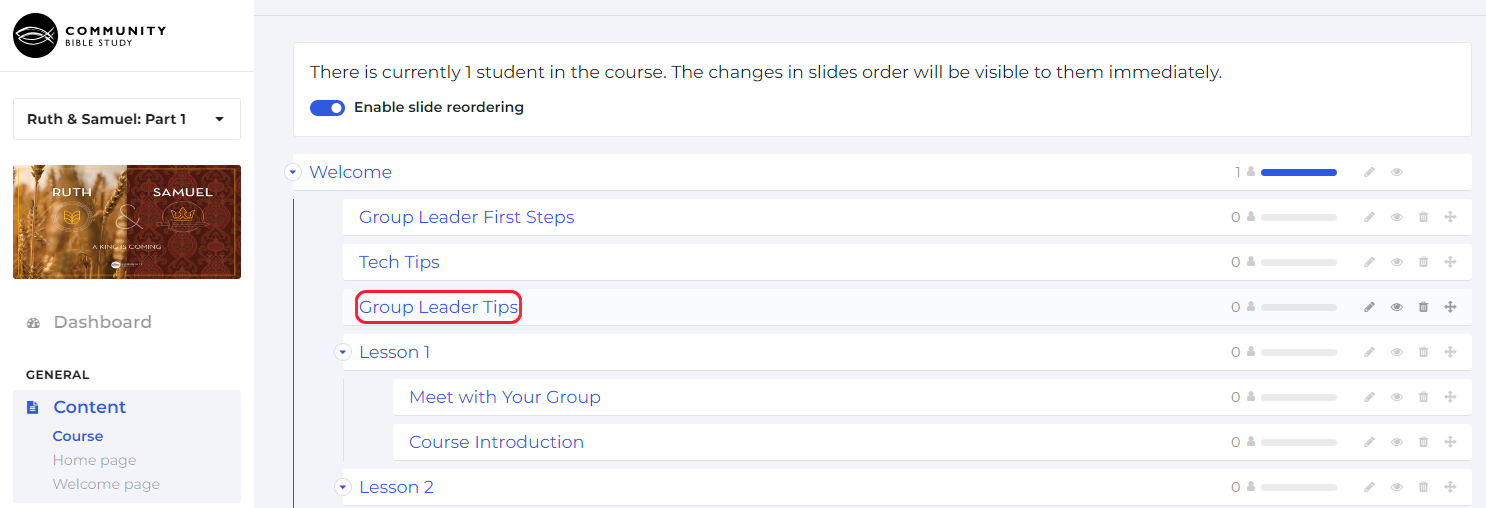
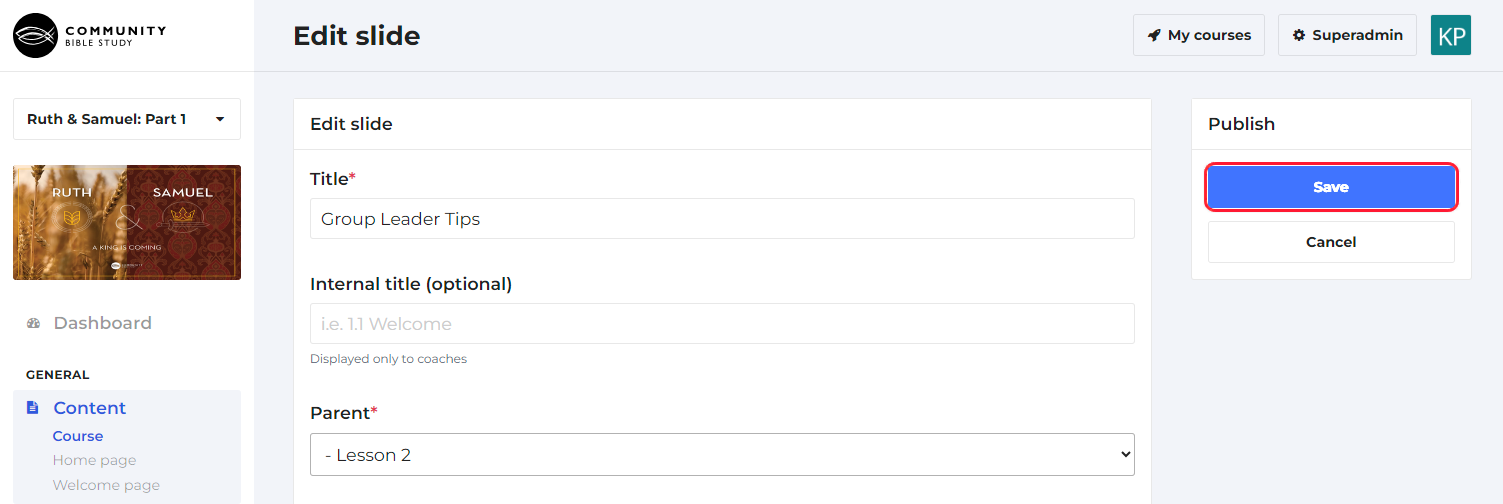
1. Click on the name of the slide you want to move.
2. Select the new parent slide that you want the slide to be under from the Parent dropdown.
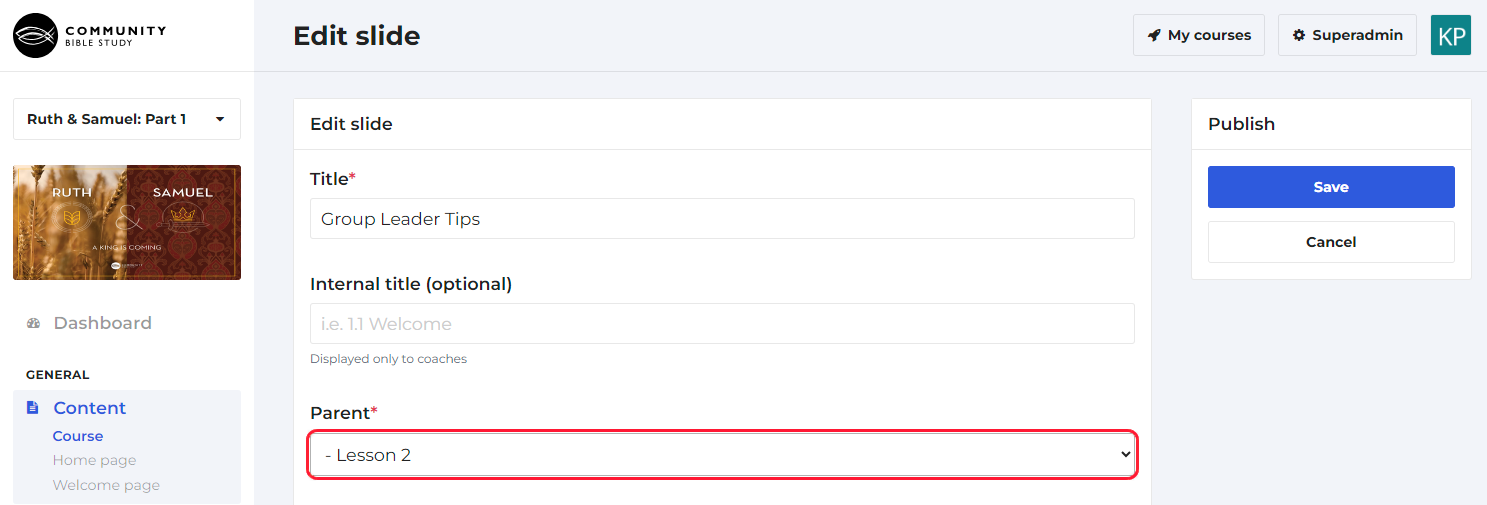
3. Click ‘Save’ to confirm your changes.
Note: Changing the parent slide will automatically place the slide as the last slide underneath the parent. You may need to reposition the slide to where you want it to be after you change the parent slide.