Once a course has been created in Gele, it is ready to have content added to it. This article will go over how to create and edit slides, and how to add content from the Lessons to the course.
Navigating to the Course Content Menu
To edit and add content to a course, you will need to go to the Content Menu in the Course Administration dashboard for the course you are wanting to edit. To get to this page:
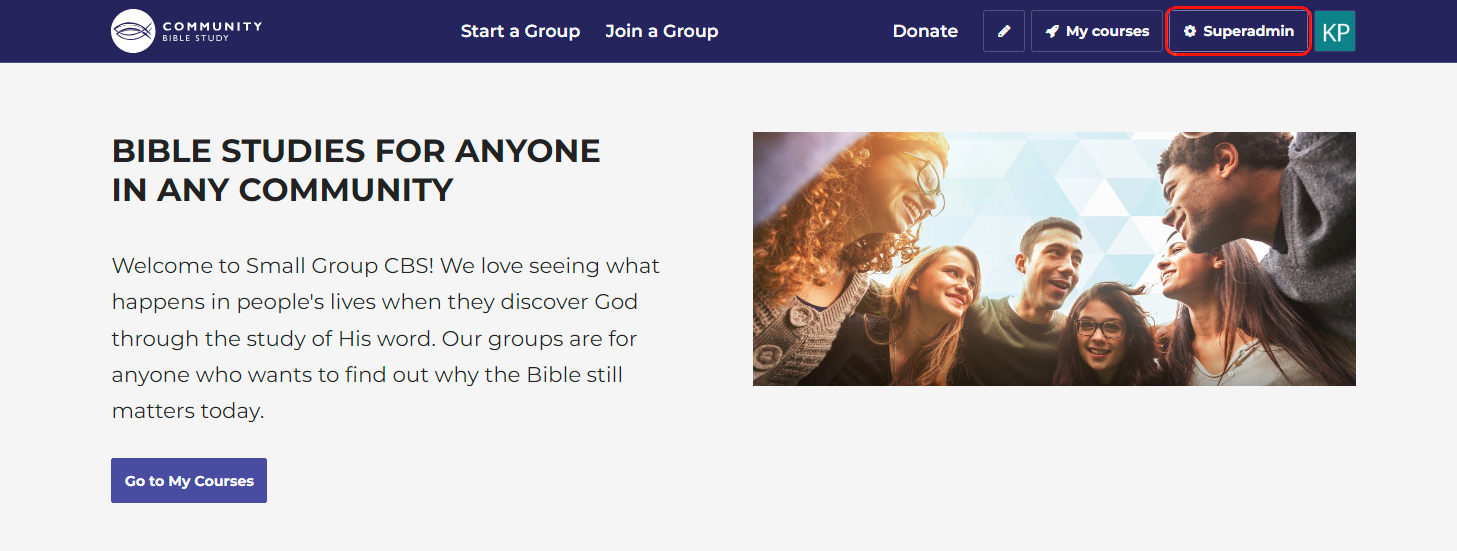
1. Login to your account and click Superadmin at the top of the page
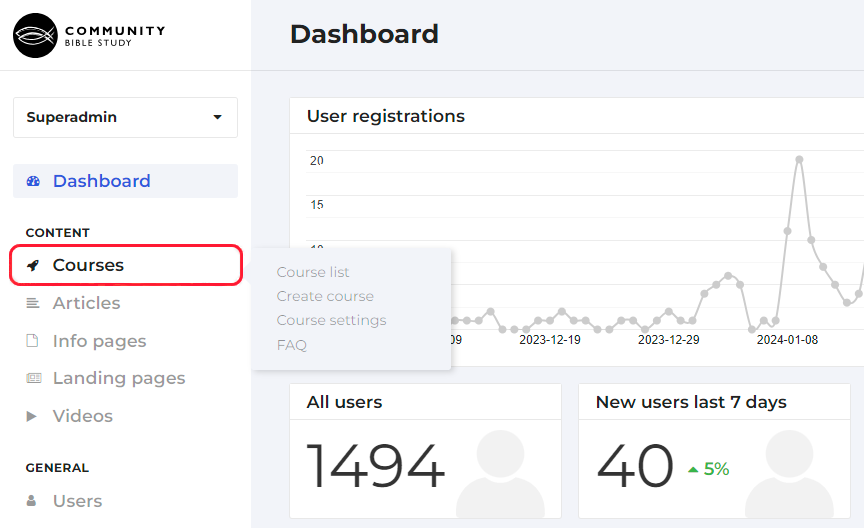
2. Click Courses in the menu on the left-hand side of the page.
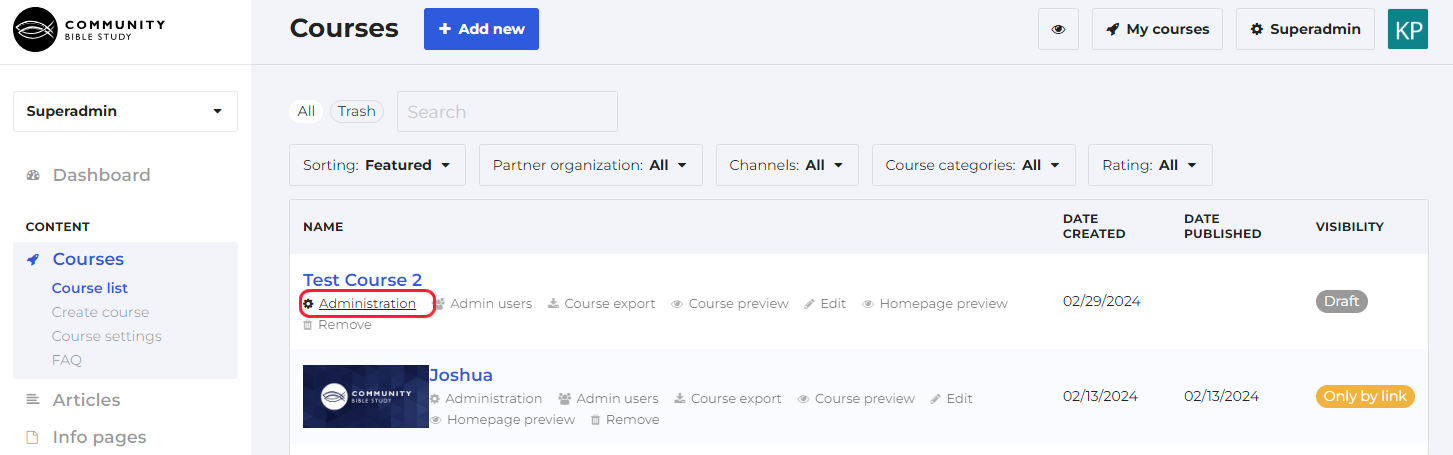
3. Click Administration for the course you want to edit.
4. Click Content in the menu on the left-hand side of the page.
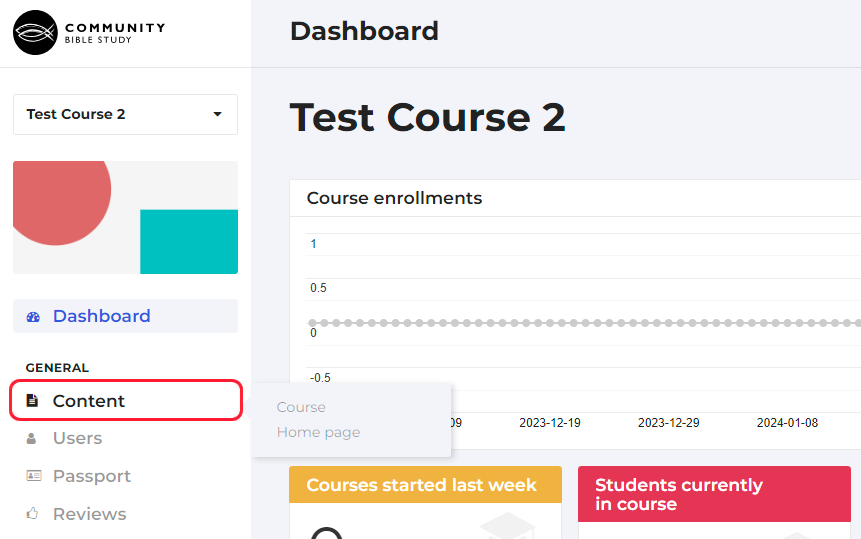
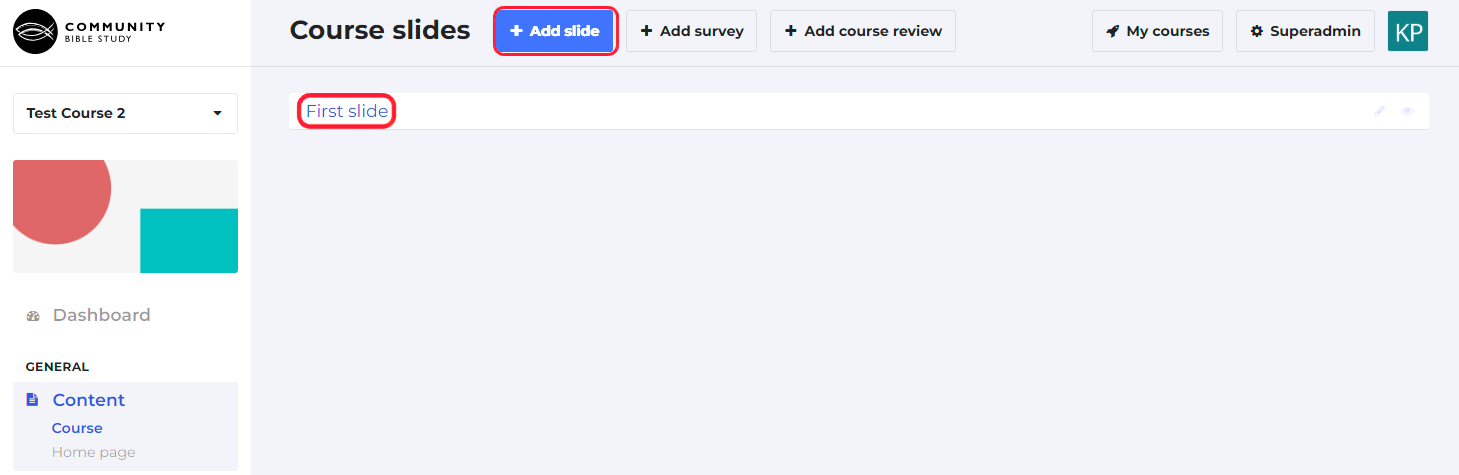
5. This will take you to the Course Content menu. Click on the name of a slide to edit the slide content, or click ‘Add slide’ at the top of the page to add a new slide.
Creating a New Slide
In Gele, Slides are the different menu items that appear in the Course Content menu on a Participant and Group Leader’s course homepage that they will click through to go through the study material. To add a new slide to a course:
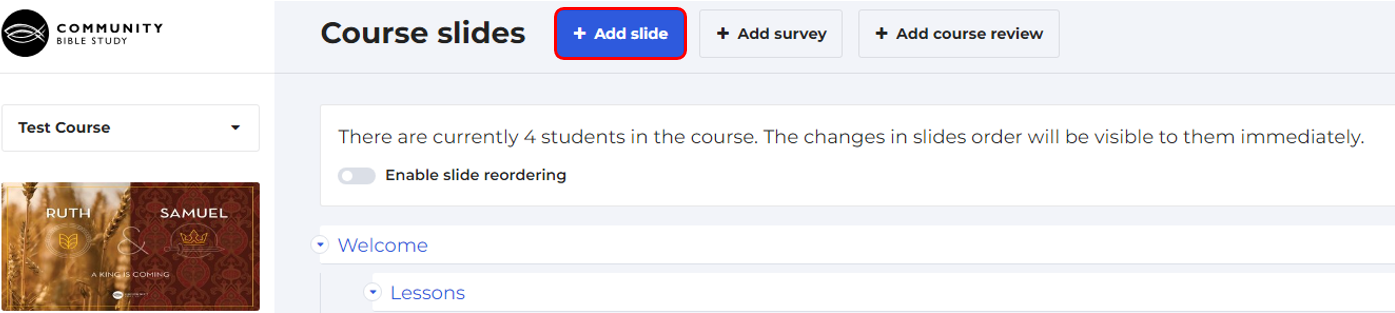
1. Click ‘Add Slide’ at the top of the page.
2. Type the name of your slide in the ‘Title’ box.
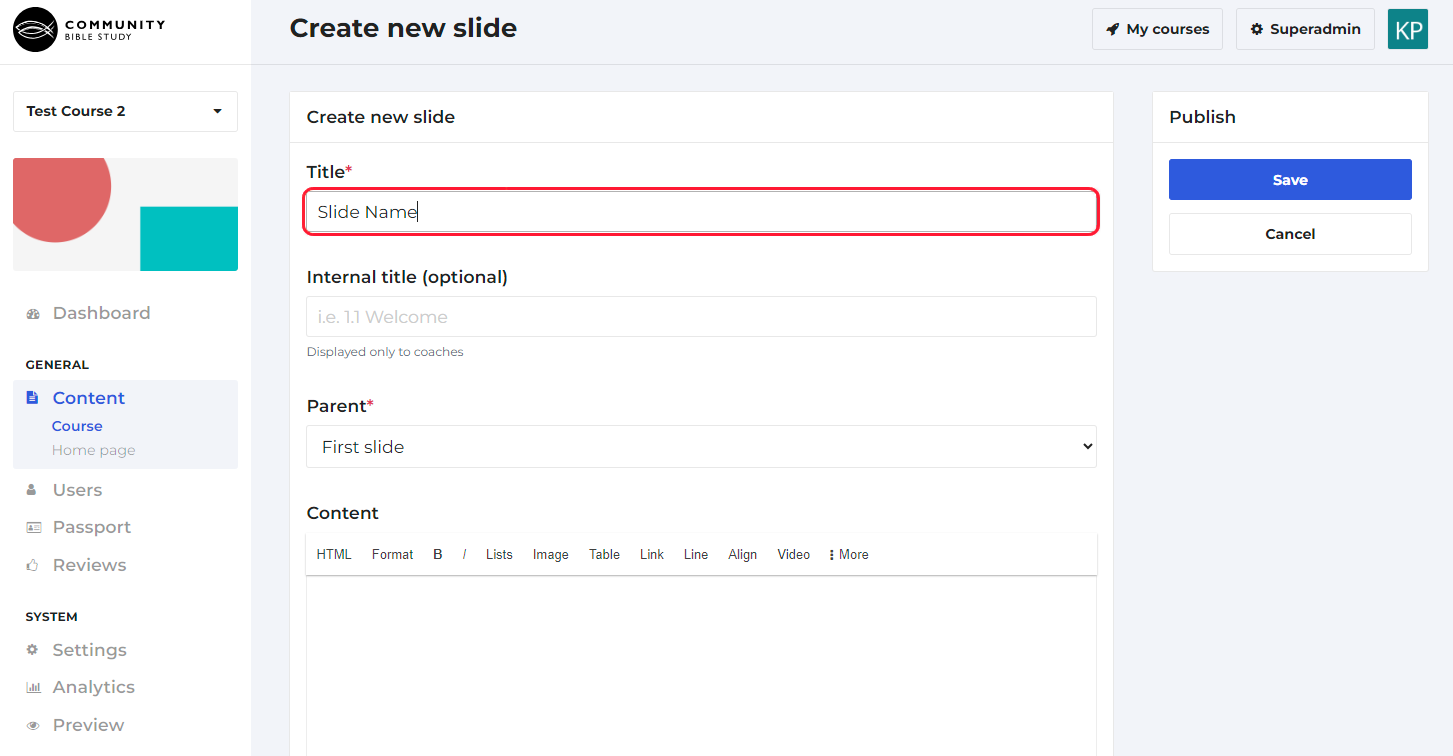
3. Select the slide that you would like to be the slide’s parent slide.
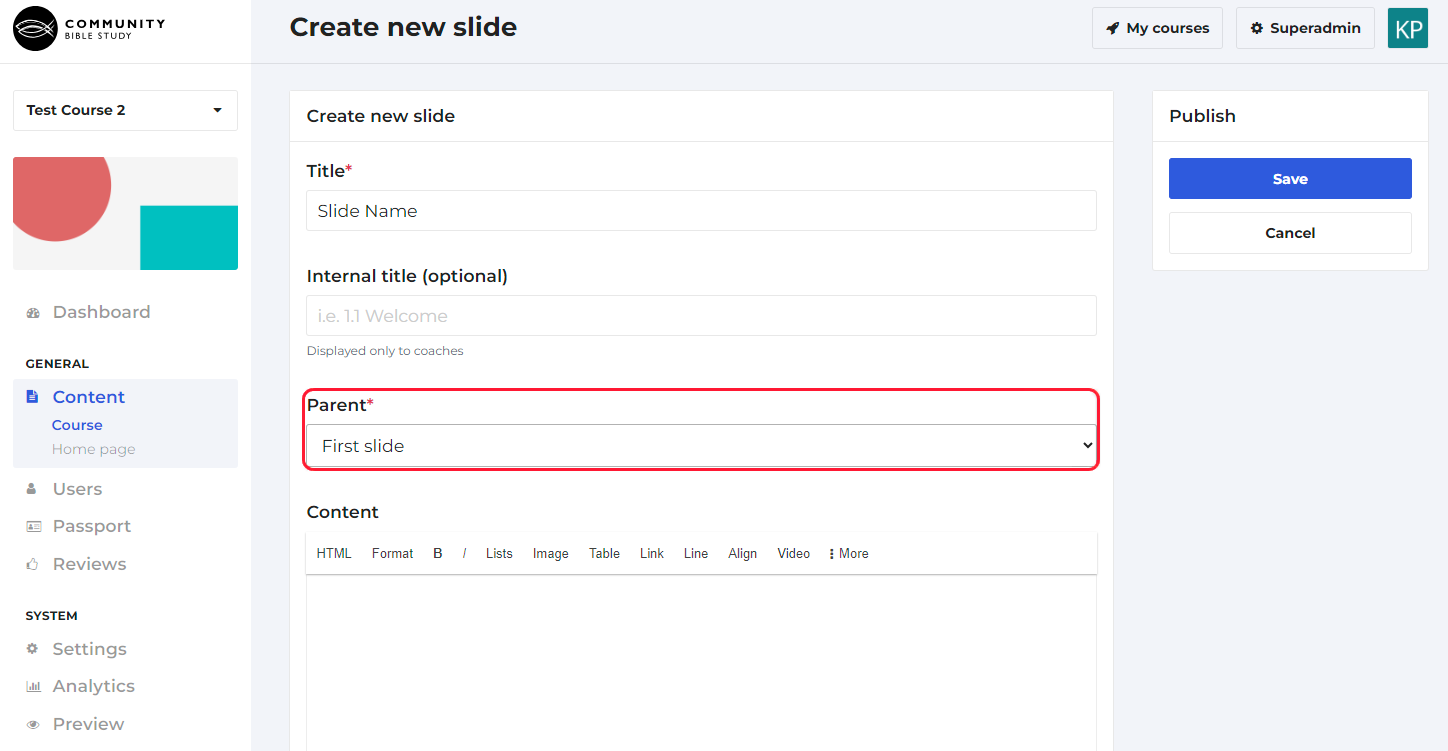
Note: The parent slide is the slide that this slide will be placed under in the course content menu. If you don’t want this slide to be placed underneath another slide, select the first slide of the course.
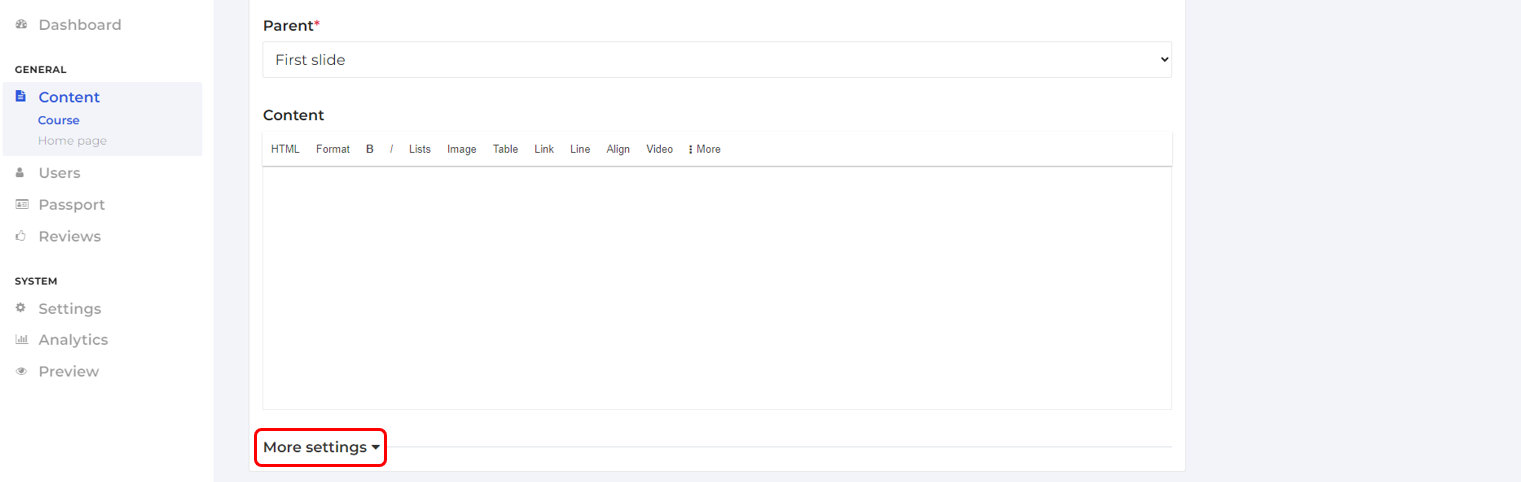
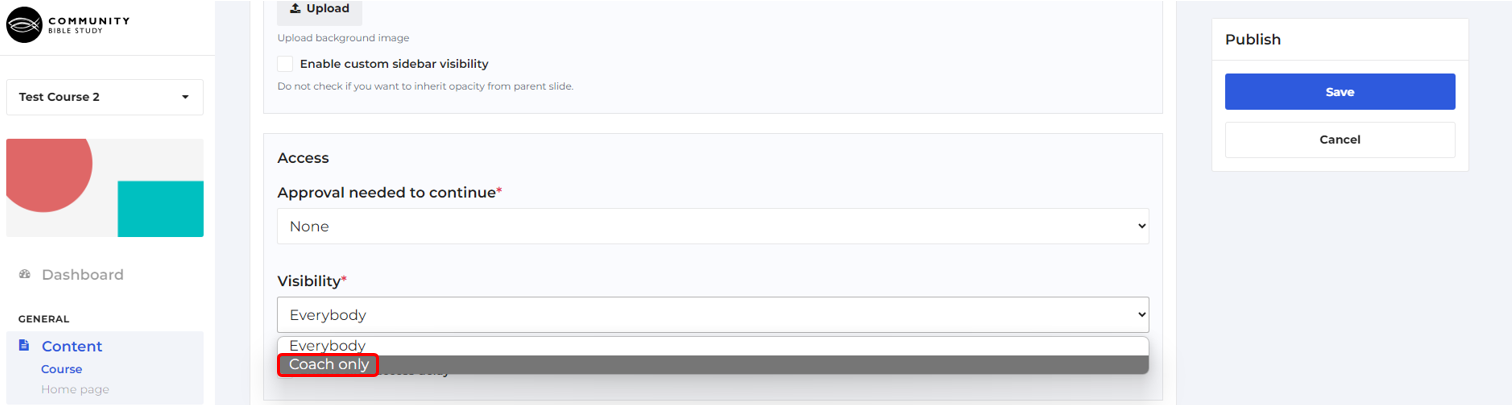
4. There may be some cases when you only want a Group Leader to be able to see a slide. To only allow Group Leaders to view the slide, click More Settings at the bottom of the page and then select Coach Only from the dropdown box underneath ‘Visibility’.
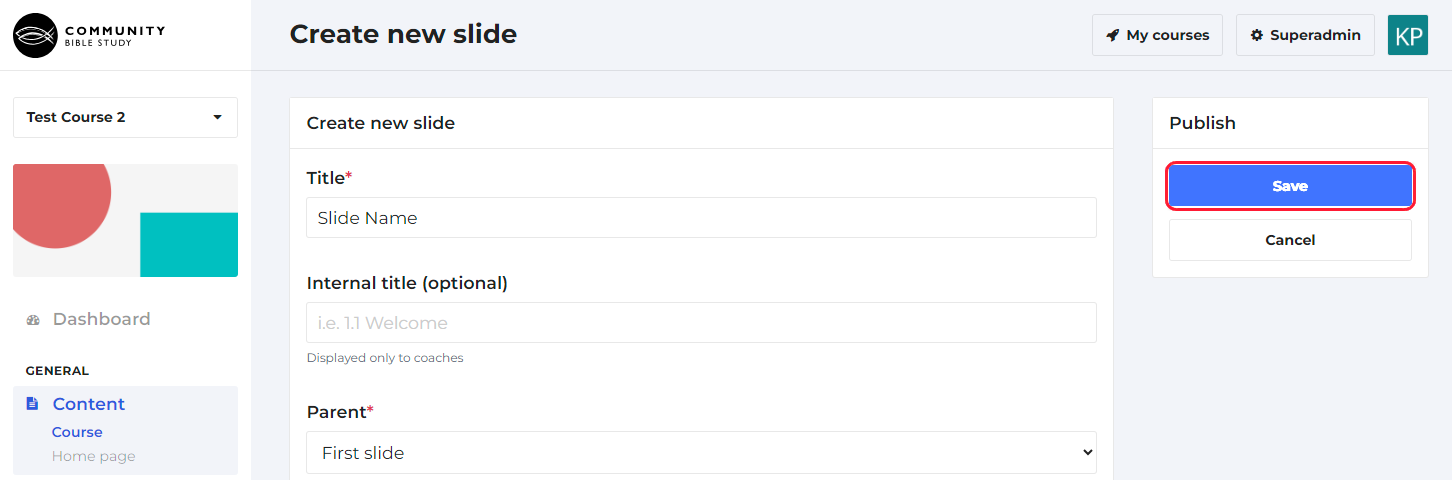
5. Once you’ve named your slide and set up all the settings, you can start adding content to the slide. Make sure to click Save when you are done.
Adding Content to a Slide
There are a variety of different items that you can add to a slide using the slide editor. Content can be added into the slide editor in any language you would like as long as you have access to the Lesson PDFs in the language you are wanting to upload the course in so you can copy and paste the text.
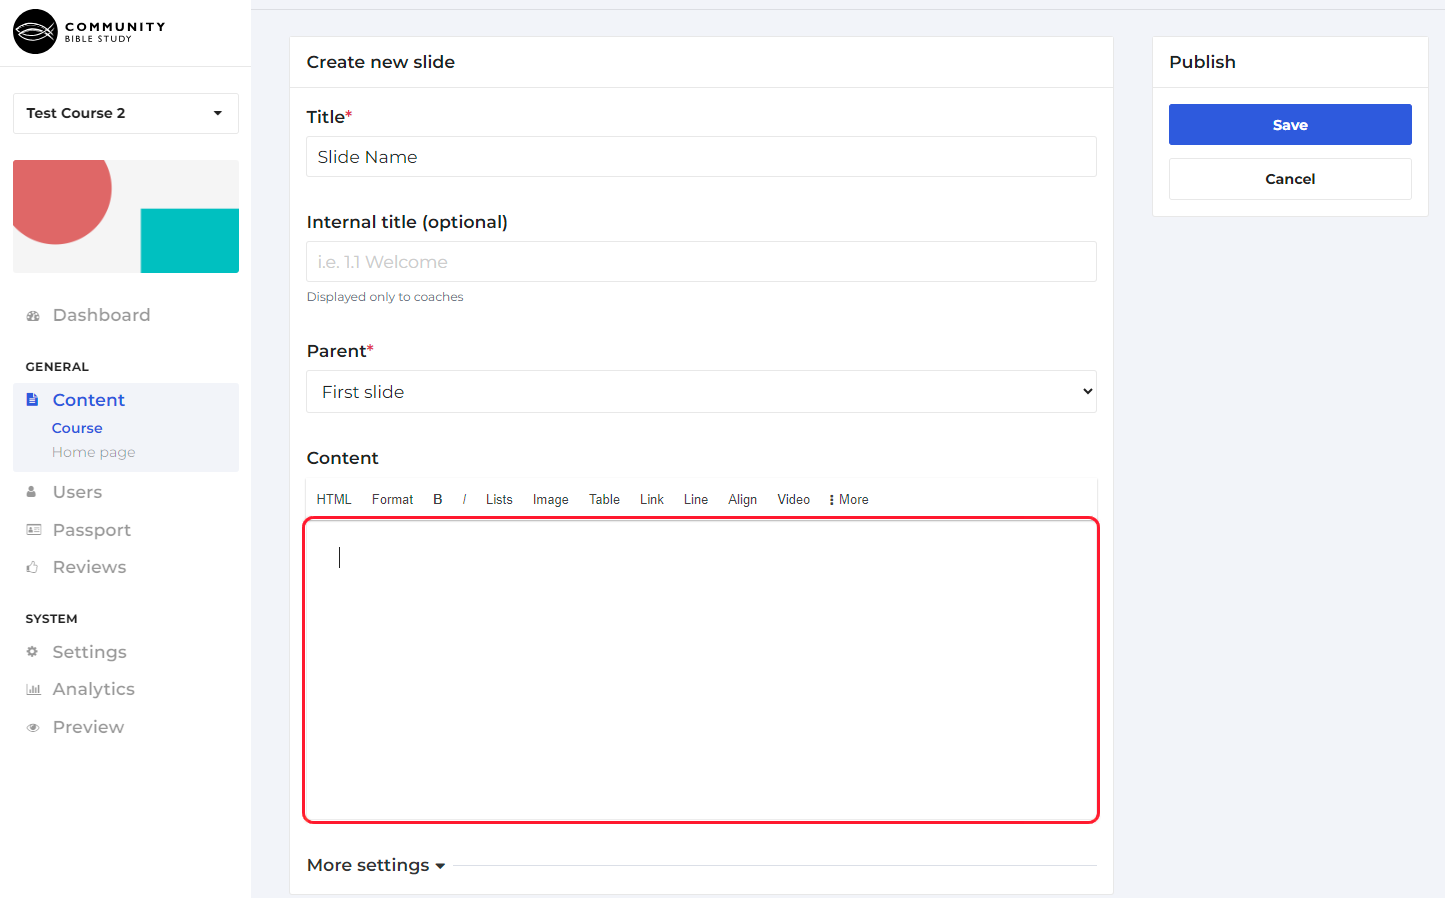
The following is an overview of the different items you can add to a slide and how to add them:
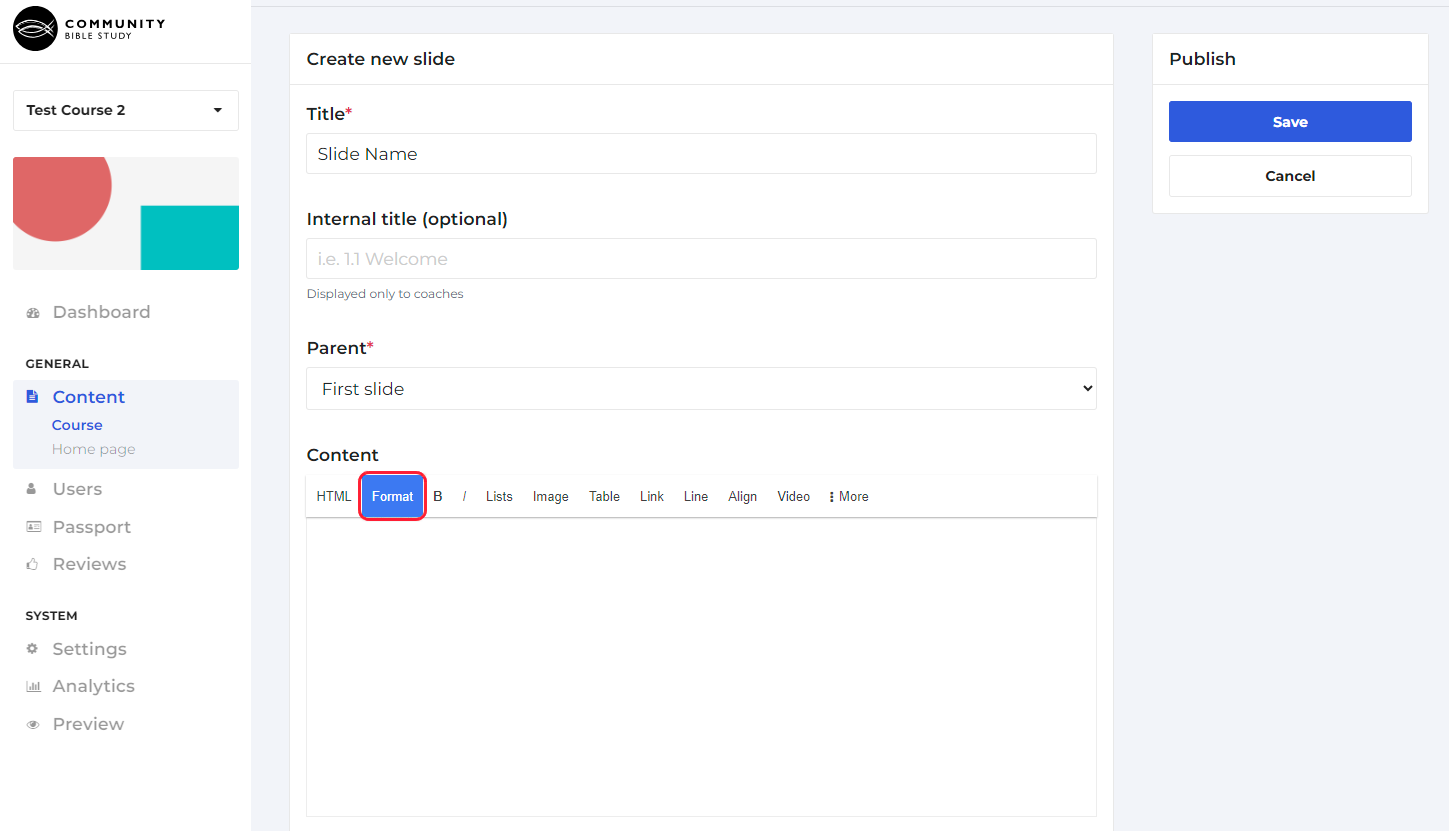
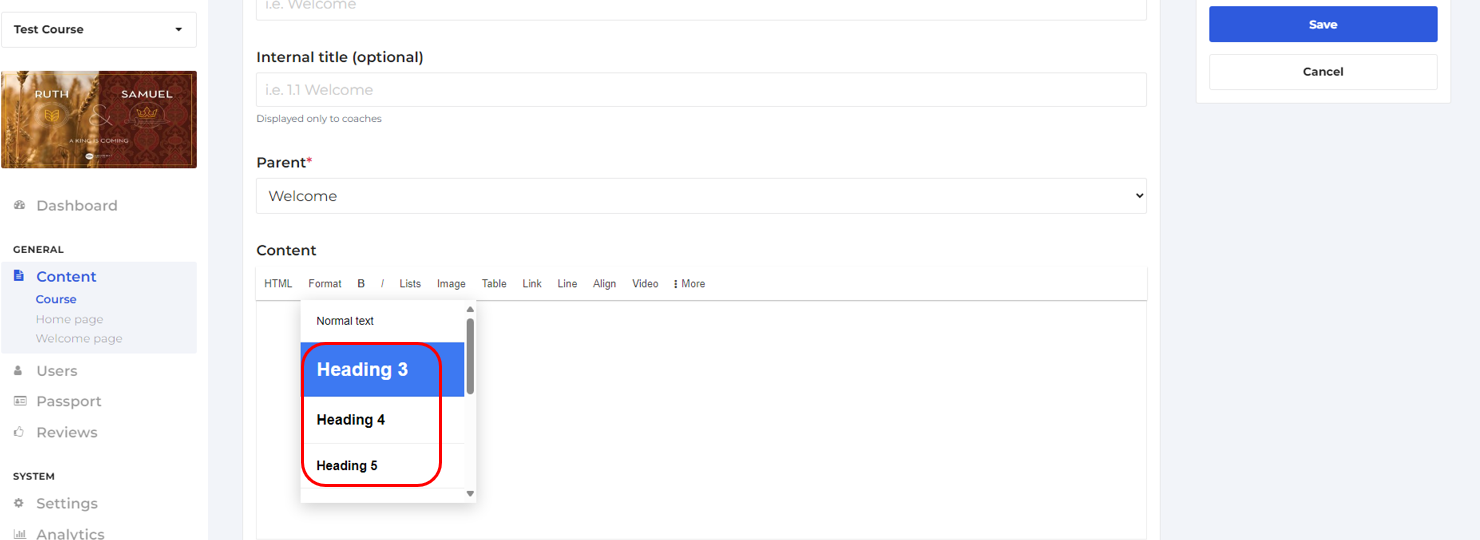
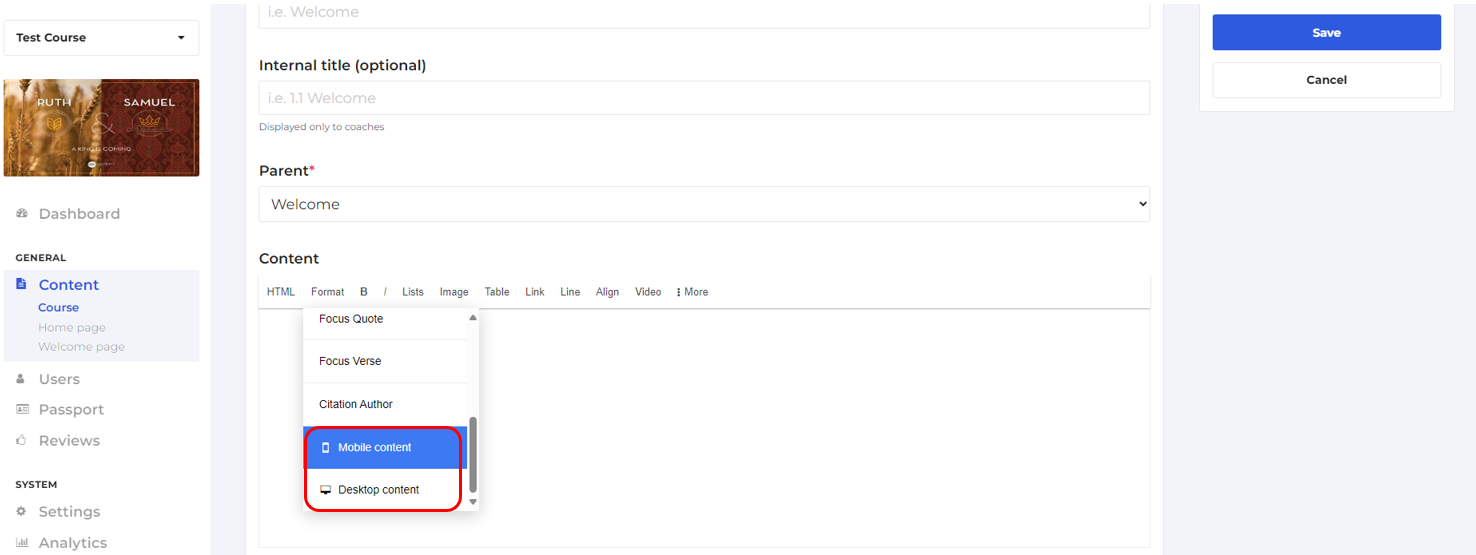
Adding Headers, Banners, and Mobile and Desktop Only Content
The Format button allows you to format text into headers or banners (focus info or focus quote), and also allows you to add mobile or desktop only content. To format a piece of text on the slide, hightlight the text you want to format and select the formatting option you want to apply from the dropdown box.
Adding Images
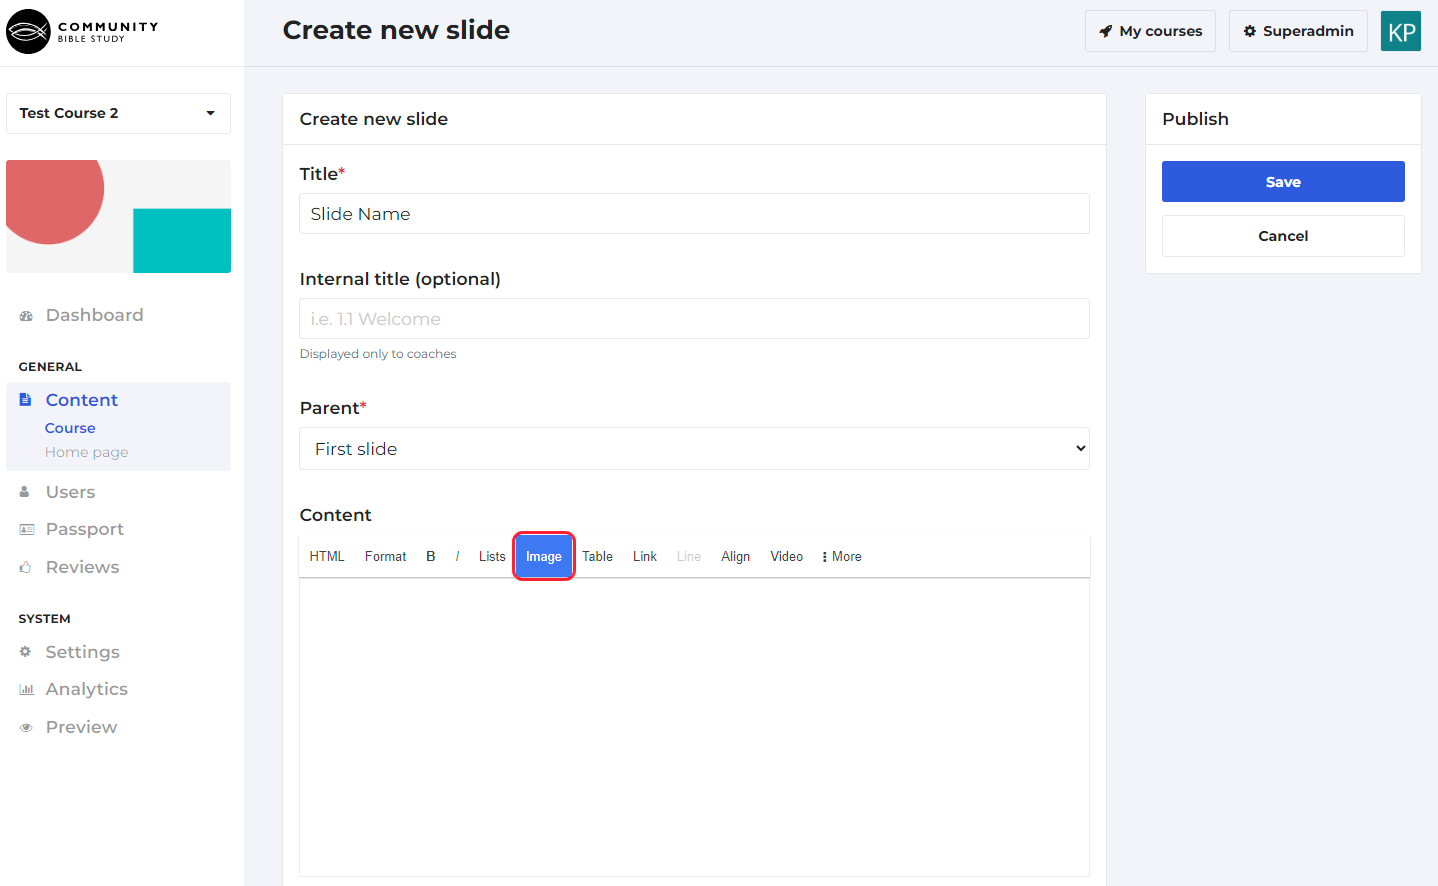
To add an Image to your slide, click on the area in the slide editor where you want the image to be placed and click the Image button.
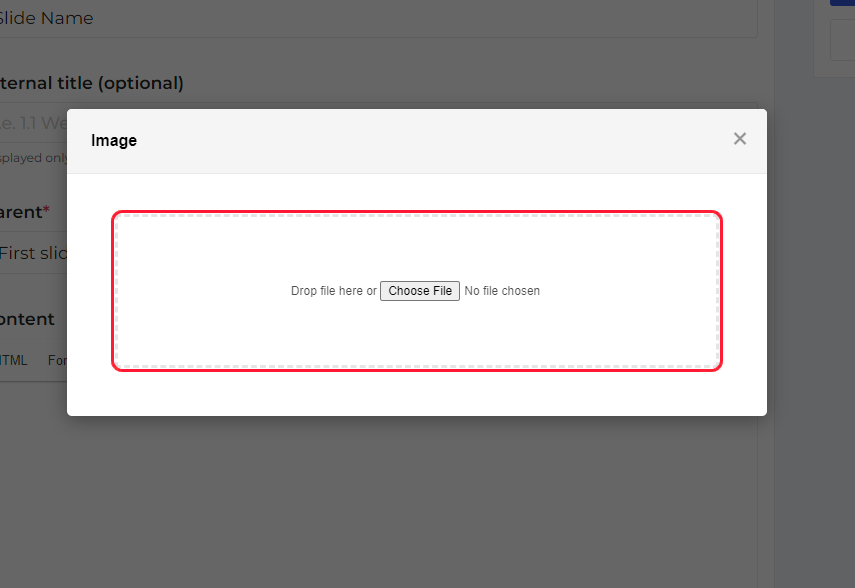
Click Choose File and select the image you want to upload. The picture will then automatically upload to the slide.
Adding Custom Links
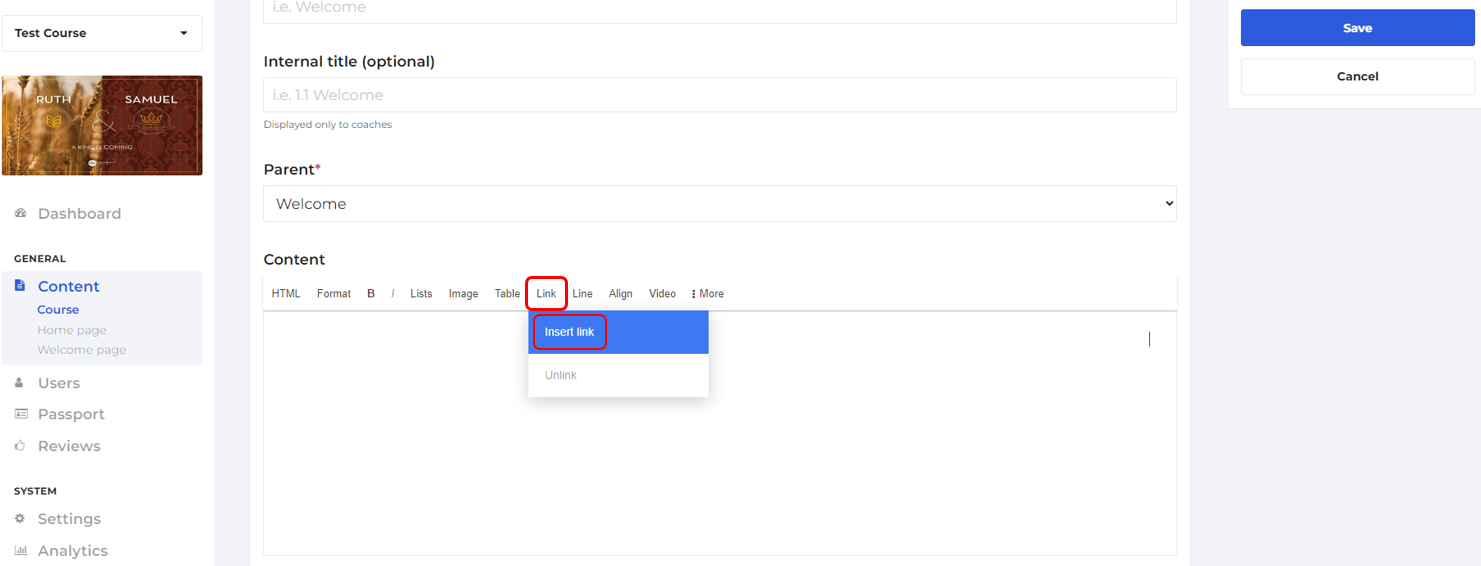
You can add link to text within the slide to take people to an outside page. To add a link to the slide, click on the area in the slide editor where you want the link to be placed, click the Link button, and then click Insert Link. You can also highlight the text you would like to add the link to as well.
Type or paste the URL that you want to link to in the URL textbox and type the text you want the link to display in the “Text” textbox.
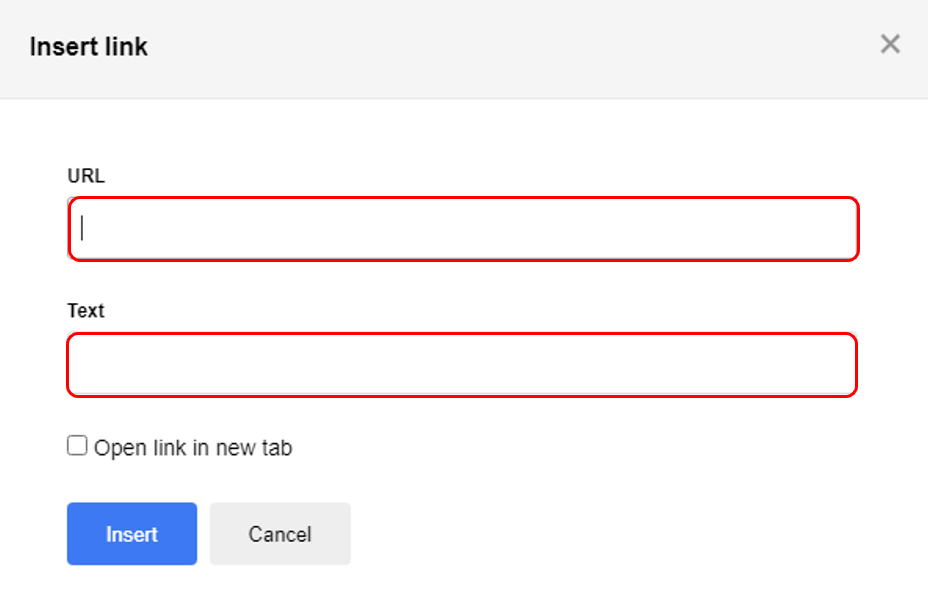
If you would like the link to open up in a new tab, check the box next to “Open link in a new window”
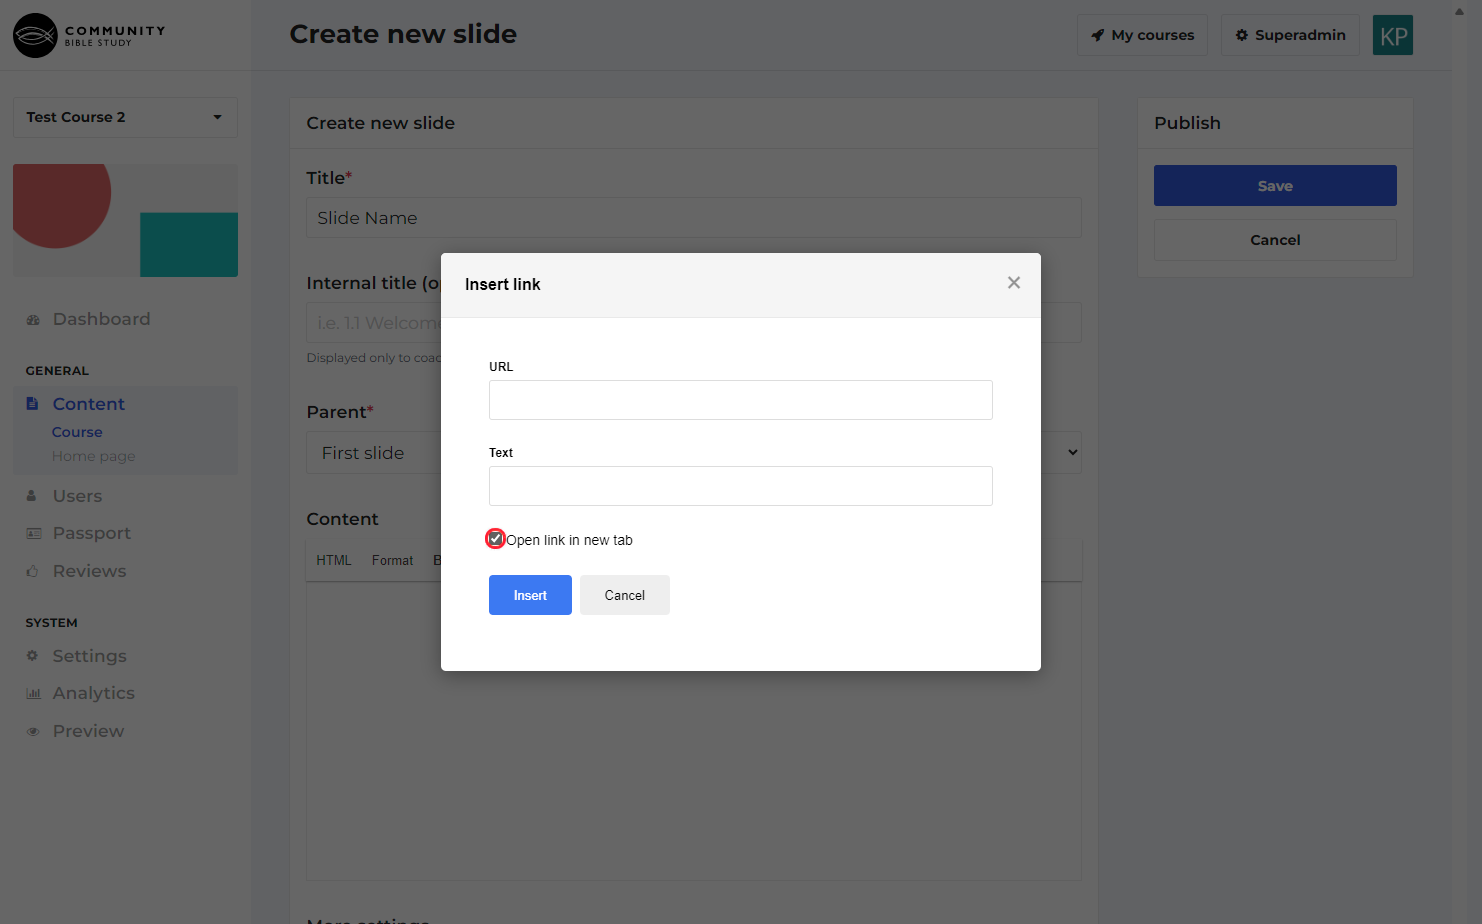
Once you’ve added in all of the information, click Insert to add the link to the slide.

Adding Videos
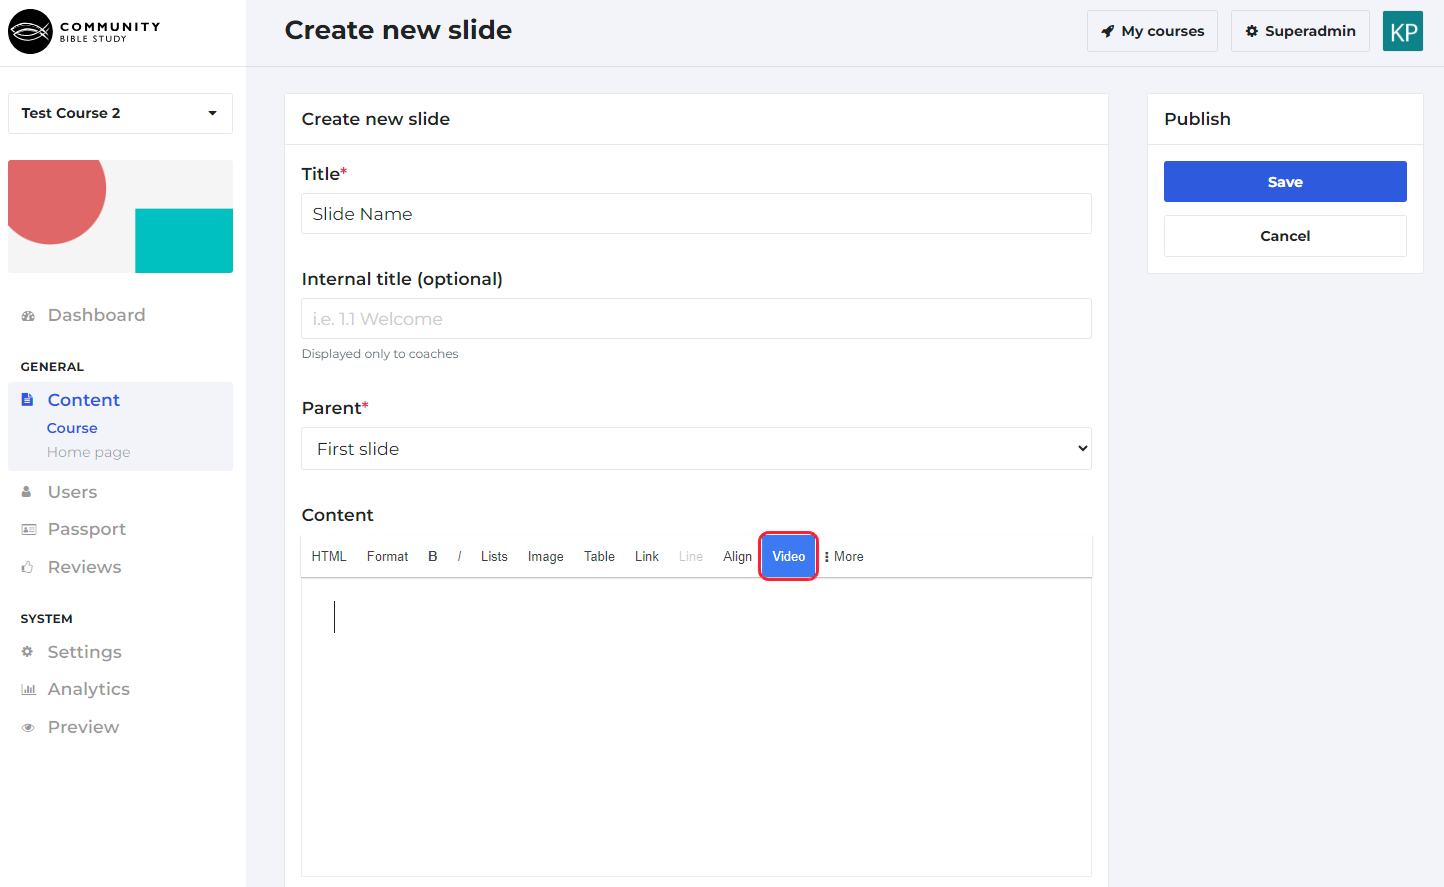
In order to add a Video to a slide in Gele, the video first must be uploaded to YouTube or Vimeo. Once the Video has been uploaded to one of these platforms, click on the area in the slide area where you want the video to be placed and then click Video.
Select the video hosting platform that you are using to host your video from the ‘Type’ dropdown.
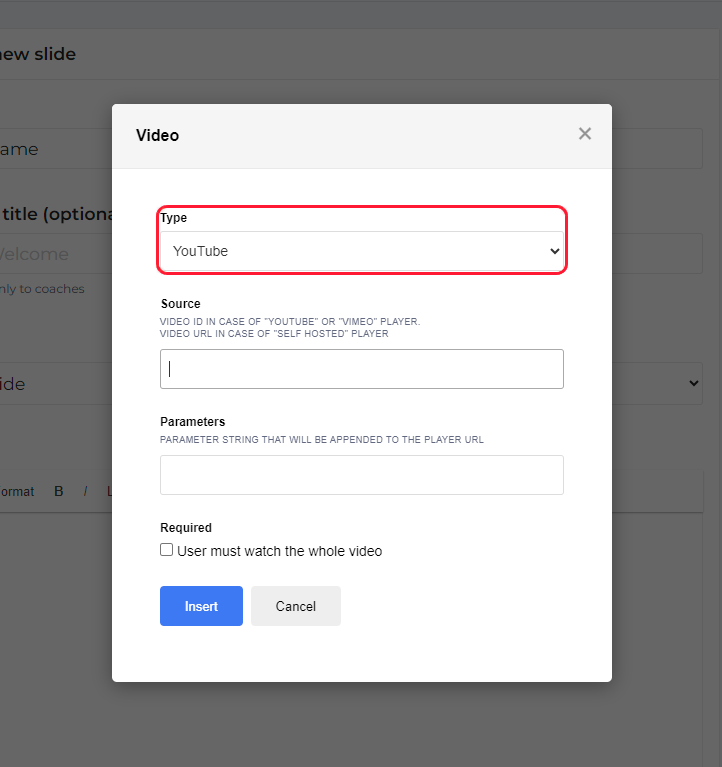
Enter the Video ID for the video into the ‘Source’ box. The Video ID is the series of letters and numbers at the end of the URL for the video.

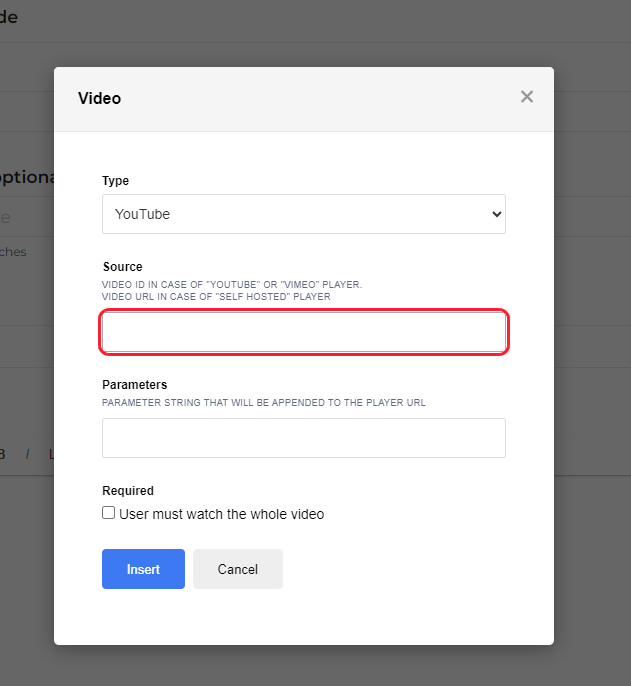
If you’d like to require participants to watch the entire video before they are able to move on in the course, check the box next to ‘User must watch the entire video’. Then, click Insert to insert the video into the slide.
Note: Once you insert the video onto the slide, you won’t be able to see the video in the Slide Editor. You’ll want to save the slide after you insert the video and click on the slide preview button on the course content page to make sure that the video is being added to the slide correctly.

Adding Private Notes Sections
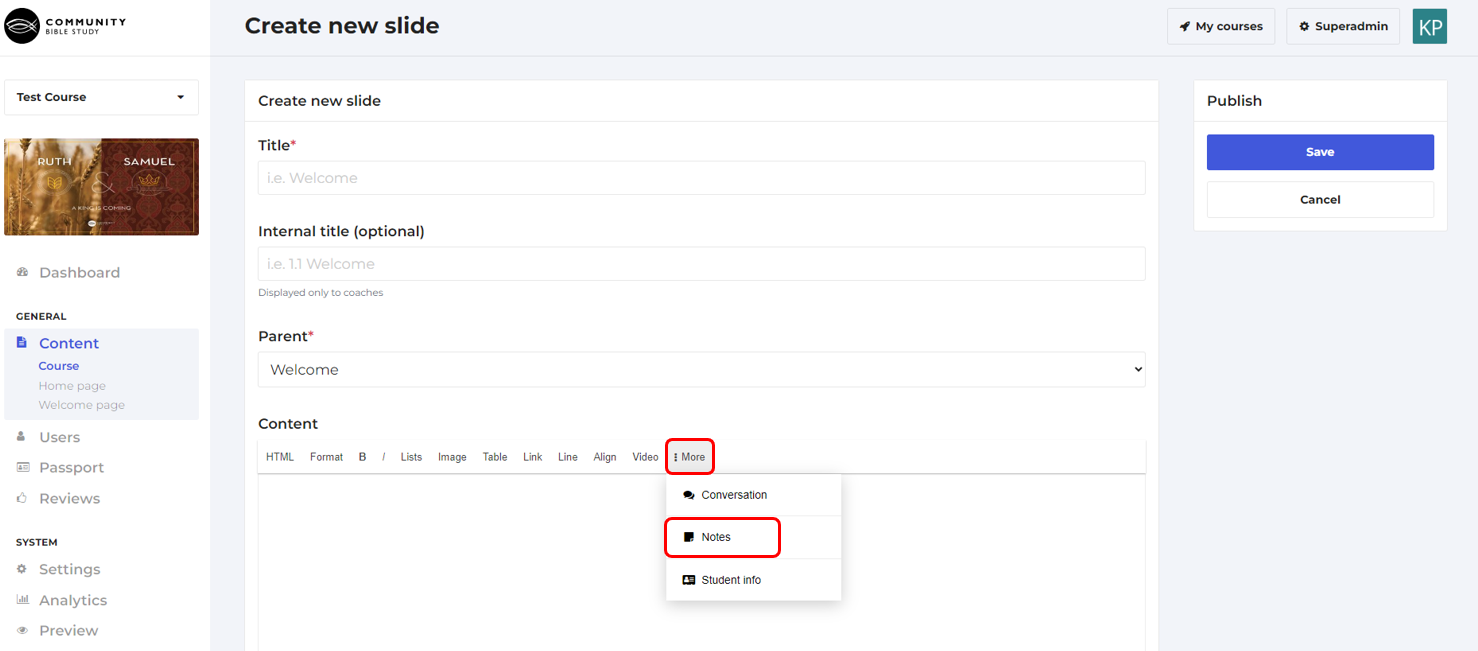
When uploading the lessons from the PDFs to Gele, each lesson question should be added to a Private Notes section. The Private Notes sections is what allows participants to type and save their answers to the lesson questions into the platform. All of the answers that they write in the notes sections will be available to view even after the participant’s group in Gele has closed. To add a private note section to a slide, click More and then click Notes.
Enter the lesson question or the title for the note that you want to display in the note box into the ‘Title’ box.
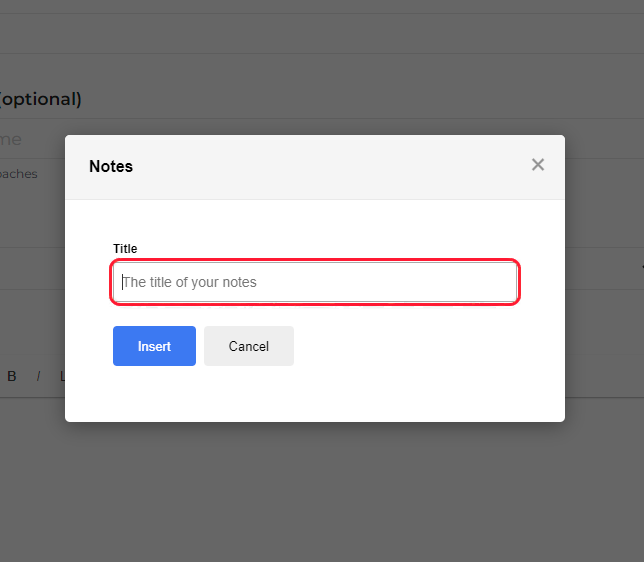
Note: The title of the note is what the participant will see when they go back to view their answers to the lesson questions after their group has closed in the platform. In order for participants to know what answer corresponds to what question when they go back to view their answers, you will need to make sure to enter in the questions for each lesson in as the title for each note.
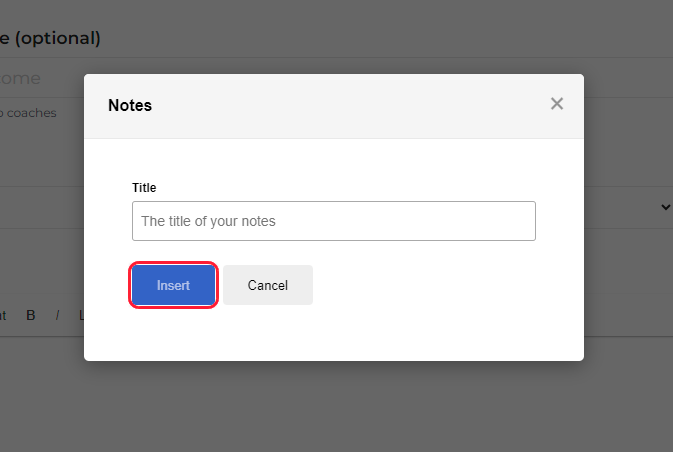
Click the Insert button to insert the note section into the slide. Similar to when adding videos, the note box won’t show up in the slide editor but can be previewed by going back to the content menu and clicking on the preview button.
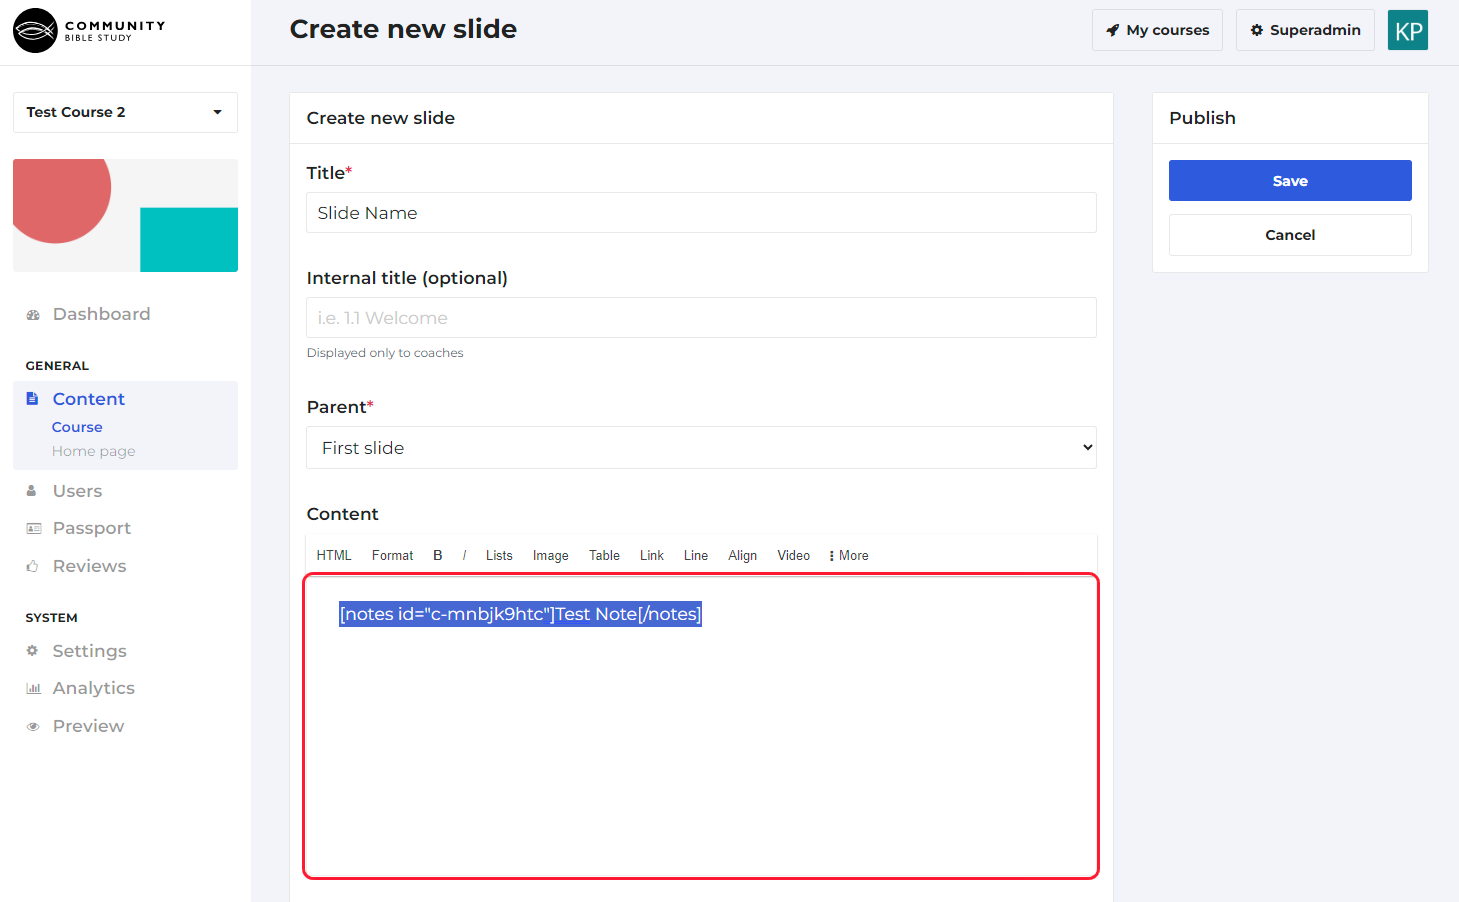
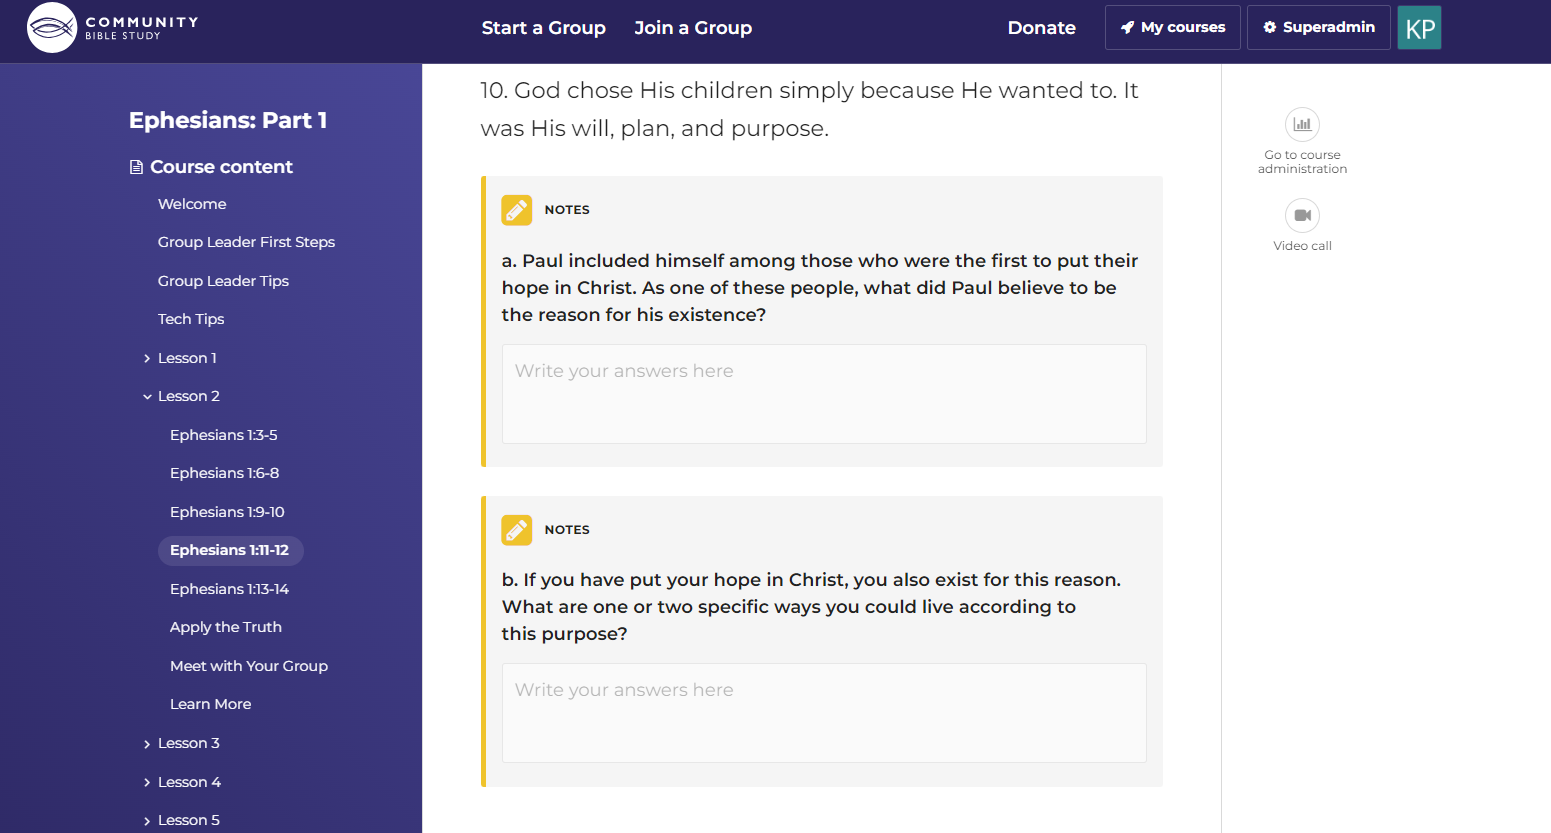
Note: Some lessons may have questions that are broken up into multiple parts. For these kinds of questions, we would recommend splitting the question up into multiple notes sections. See the picture below for an example of how to add multi part questions to a slide: